
- Home
- Viewing or Sorting Files
- Viewing/Editing Embedded Information of Images
- Customizing Metadata Display
Font size
- S
- M
- L
Customizing Metadata Display
You can customize the display of the [File & Camera Information]/[XMP/IPTC Information] items on the [Adjustments/Metadata] palette. You can show only frequently used items or arrange them in order of frequency.
For details on displaying details in each window on the [Adjustments/Metadata] palette, refer to "Showing Metadata".
Selecting the method to display metadata items
You can choose to display all items of metadata or to display only basic items.
- Click
 on the right of [File & Camera Information] / [XMP/IPTC Information] to select the desired item.
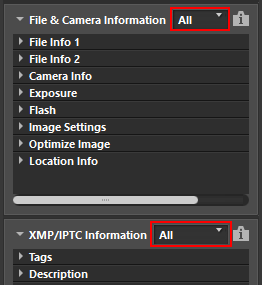 The displayed items will be changed.[All] or [Basic] can be selected.
Customizing the show/hide status and order of the metadata items
You can specify the show/hide status of each [File & Camera Information]/[XMP/IPTC Information] item and the display order.
These settings can be registered as a preset.
- Click on the right of [File & Camera Information]/[XMP/IPTC Information] and select [Custom Settings...] from the dropdown options.
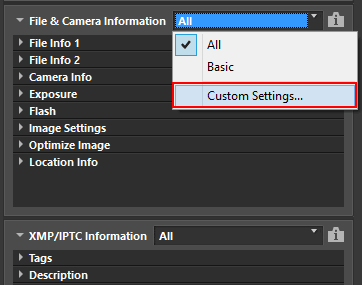 The setting screen is displayed.
- Click [New].
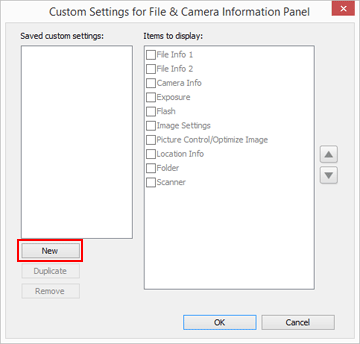 A new preset is created in [Saved custom settings:].
- Set the show/hide status of each item and their display order.
Set the settings as below:
- In [Items to display:], check the item you would like to display and uncheck the items you would like to hide.
- In [Items to display:], select the desired items and click
 or
or  to rearrange them.
 - Each time you click an item name, the status of the item switches between "selected" and "deselected". You can select multiple items.
- Click [OK].
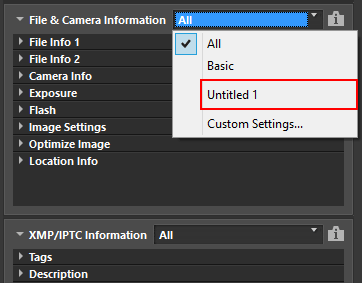
The settings are registered as a preset.Click on the right of [File & Camera Information]/[XMP/IPTC Information] and find the registered preset in the dropdown options. When the preset is selected, the displayed items will be changed.
Managing presets
To edit or delete a preset, display the [Custom Settings for File & Camera Information Panel]/[Custom Settings for XMP/IPTC Information Panel] window.
- Editing presets
- Select the preset to edit and go back to step 3 above (the setting of the show/hide status of each item and their display order) and complete the subsequent instructions that follow it.
- Changing preset names
- Select the preset to rename from the list of presets and click the preset again. There, you are able to change the name.
- Duplicating presets
- Select the preset to duplicate from the list of presets and click [Duplicate]. The copy of the preset is created with a sequential number added to the end of the original name. This function is useful to create a new preset by modifying an existing one.
- Deleting presets
- Select the preset to delete from the list of presets and click [Remove].