
- Home
- Editing Movies (ViewNX-Movie Editor)
- Detailed Operation
- Displaying Text on Still Images and Movies
Font size
- S
- M
- L
Displaying Text on Still Images and Movies
You can display text on top of image and movie files.
Setting the text
- Click
 for an image file or movie file.
The icon is displayed when you position the mouse cursor over the still image file or movie file.
for an image file or movie file.
The icon is displayed when you position the mouse cursor over the still image file or movie file.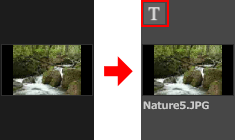 The [Text Settings] window is displayed.
- Enter the text and set the font and location of the text.
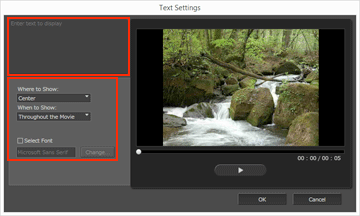 Click the text box at the top left of the [Text Settings] window, and enter the desired text. Up to 64 characters, including double-byte characters, single-byte characters and line feed code, can be entered.To configure format settings such as the font style, size, and color, add a check mark to [Select Font] and click [Change...].Set the items listed below.[Where to Show:]Set where to display the text.[When to Show:]Set when to display the text. When [Throughout the Movie] is clicked, the entered text is displayed continuously while the source is displayed. When [From the Beginning for] or [From the End for] is selected, you can display the text for a period of 3 sec, 5 sec, or 7 sec after the file starts or before it ends.
- Click [OK].
The settings are applied. Source files with added text are indicated with
 .
.
Editing the added text
You can change or delete the added text.
Changing the text
In the Storyboard, select a source indicated with a . Click or select [Add or Update Text...] in the [Clip] menu, and change the text in the text box in the [Text Settings] window.
. Click or select [Add or Update Text...] in the [Clip] menu, and change the text in the text box in the [Text Settings] window.After making the changes, click [OK] to apply the settings.
Deleting the text
In the Storyboard, select a source indicated with a . Select [Add or Update Text...] in the [Clip] menu, and delete the text from the text box in the [Text Settings] window.
. Select [Add or Update Text...] in the [Clip] menu, and delete the text from the text box in the [Text Settings] window.After you make the changes and click [OK] to apply the settings, the disappears.
disappears.