
Font size
- S
- M
- L
Resizing View
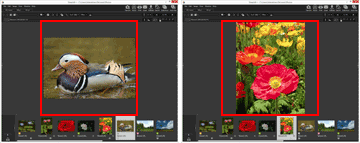
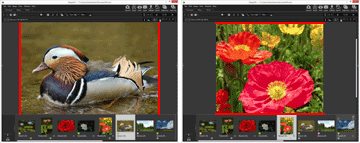
You can resize thumbnails and images shown in the Image View area or the Filmstrip.
Resizing thumbnails
You can resize thumbnails and images shown in the Image View area or the Filmstrip.
Resizing thumbnails in the Image View area
- Click
 or
or  on the Toolbar.
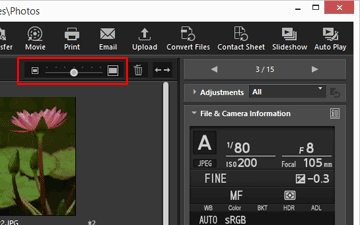
- Click to zoom in the thumbnails.
- Click to zoom out the thumbnails.
- Thumbnails can also be resized by clicking the scale or dragging the slider.
- Click
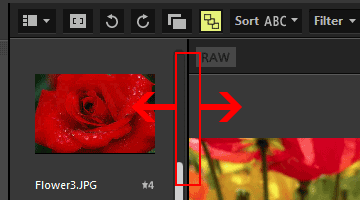
Resizing thumbnails in the Filmstrip
- Drag the border between the Filmstrip and Image View area.
Other available methods
- Locate the cursor bar on [Thumbnail Size] of the [View] menu, and select a new size.
- After clicking any point in the Image View area or Filmstrip, hold down the "Ctrl" key, and press the "+" or "-" (Windows only).
- Press the "Ctrl" and "+" key to zoom in the thumbnails. Press the "Ctrl" and "-" key to zoom out the thumbnails.
Zooming images
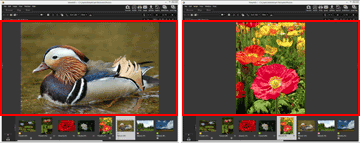
You can zoom in or out on an image shown in the [Image Viewer], [Full Screen mode], or [Compare 2 Images] mode.
Movies or image dust-off data (NDF) cannot be zoomed.
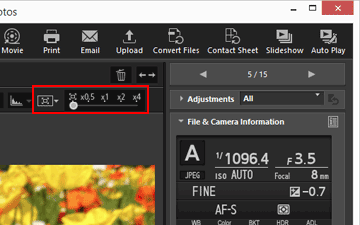
- Click the scale on the Image Control bar or select
 /
/  /
/  .
.
- In the [Image Viewer] mode:
- In the [Full Screen] mode:

Viewing images in the Image View area
- Select (Fit to Screen) to display an image so that it fills the Image View area.
- Select (Fit to Square) to display an image so that the whole image fits into the inscribed square in the Image View area. The image is displayed at the same magnification ratio regardless of the image orientation.
- Select (Fit Short Edge to Screen) to display an image so that either side fits in the Image View area. Though a scroll bar may appear on the other side, the magnification may not exceed 100%.
- Click
 on the scale to choose the way an image is displayed either from , or .
- Click [50%] to show a half-size image.
- Click [100%] to show a full-size image.
- Click [200%] or [400%] to display an image at the magnification of 200% or 400%.
Other methods to zoom in or out on an image
- After clicking any point in the Image View area, hold down the "Ctrl" key, and press the "+" or "-" (WIndows only).
- Press the "Ctrl" and "+" key to zoom in an image. Press the "Ctrl" and "-" key to zoom out an image.
- From [Viewer] of the [View] menu, select the zoom ratio or display style for the whole image.
Switching view size with the "Shift" key
When an image is shown in the [Image Viewer] or [Full Screen] mode, you can temporarily display it at a different scale.
- Press the "Shift" key or click the mouse.
- If you press the "Shift" key or click and hold the mouse while viewing an image, the image is displayed at the magnification ratio set in "Options/Preferences for the ViewNX-i Window" > "Viewer".
- If the image is shown in (Fit to Screen), (Fit to Square) or (Fit Short Edge to Screen), it temporarily appears in [50%], [100%], [200%], or [400%] scale. You can specify the magnification ratio in "Options/Preferences for the ViewNX-i Window" > "Viewer".
- When an image is shown in [50%], [100%], [200%], or [400%] scale, the image is zoomed in, with the cursor as the center of the image.
Note
- To change the view size by pressing the "Shift" key in the [Image Viewer] mode, locate the cursor in the Image View area. If the cursor is outside of the Image View area, this function cannot be performed.
- If you press the "Shift" key five times in succession in Windows, the screen indicating that the "StickyKeys" function has been specified appears. To cancel the "StickyKeys" function, click [Cancel].