Printing Pictures
To print pictures on a printer connected to the computer, select the pictures and click [Print] in the toolbar.
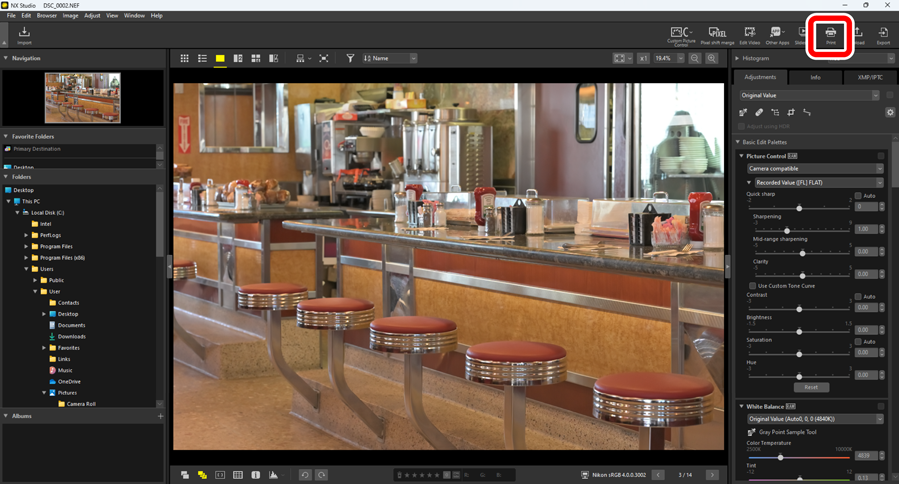
The [Print] dialog will be displayed.
Notes on Printing
- To save the JPEG file currently displayed in the preview area, click [File Output].
- The most recently-used settings are recalled when the print dialog is next displayed.
Epson Printers
If installed, the Epson Easy Photo Print utility or Epson Print Layout plugin can be launched from NX Studio by clicking the [E-Photo] or [Epson Print Layout] icon in the toolbar. For more information on Easy Photo Print or Epson Print Layout, see the documentation provided by Epson or visit the Epson website.
The “Print” Dialog
Adjust printer and layout settings.
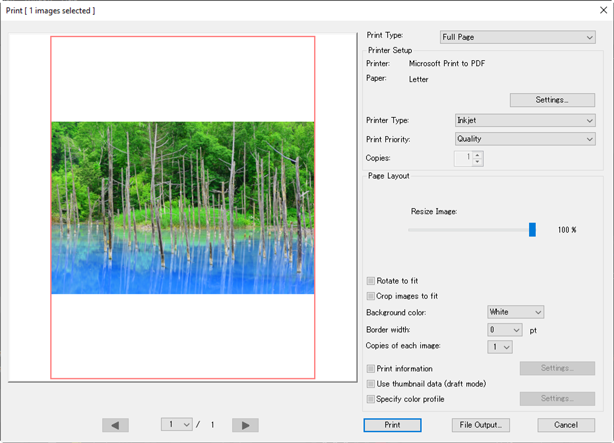
- [Print Type]
Choose the number of pictures printed per page.
- [Full Page]: Print one picture per page.
- [Index Print]: Print multiple pictures per page (0 Index Prints).
- [Standard Photo Sizes]: Print pictures at a standard photo size. The size can be selected from the [Photo Size] menu in the [Page Layout] panel. NX Studio automatically chooses the number of pictures printed per page.
- [Printer Setup]
Choose the printer and adjust other printer settings, including print quality and the number of copies of each page printed.
- [Printer]: Click [Settings] to adjust printer settings. The dialog lists the printer and the option currently selected for paper size.
- [Printer Type]: Choose [Inkjet] when printing on an inkjet printer.
- [Print Priority]: A print quality option for printing RAW (NEF/NRW) or merged pixel shift (NEFX) pictures. Choose [Speed] to use the preview data embedded in the RAW image for faster printing, or [Quality] to use the original image data for higher quality output. The only option available when [Index Print] is selected for [Print Type] is [Speed].
- [Copies]: Choose the number of copies of each page printed.
- [Page Layout]
Adjust the layout of the pictures printed on each page.
- [Resize Image]: When printing one picture per page, use the slider to adjust picture size.
- [Rotate to fit]: Rotate pictures to print them at the largest possible size.
- [Crop images to fit]: Pictures are enlarged to fill the print area. Portions that do not fit in the print area are cropped out.
- [Background Color]: Choose the background color. Choose [White] to print with no background.
- [Border width]: Choose the width of the borders printed around the image. The color of the borders (black or white) varies with the option selected for [Background color]. Choose [0] to print without borders.
- [Copies of each image]: Choose the number of copies of each photo printed.
- [Print information]: Print the file name, date of recording, or photo information under each picture (0 Printing Image Information).
- [Use thumbnail data (draft mode)]: Print using thumbnail data. Images print faster, but at lower quality. Some images will print using the original file data even when this option is selected.
[Specify color profile]: Print using a specified color profile. To choose a color profile, click [Settings].
- [Print profile]: Select a color profile for printing.
- [Intent]: Choose from [Perceptual] and [Relative colorimetric] (0 Intent).