The NX Studio Workflow
NX Studio can handle everything from downloading and displaying pictures from your camera to enhancing your favorite shots and uploading them to the Web.
Step 1: Launch NX Studio
Launch NX Studio as described below.
- Windows: Double-click the NX Studio icon on the desktop.
- macOS: Go to [Applications] and double-click the NX Studio icon in the “Nikon Software” folder.
Nikon ID
You must sign in with your Nikon ID when you launch NX Studio for the first time. Follow the on-screen instructions to sign in.
- When accessing the website of another service that uses the Nikon ID, you may be required to sign in with your Nikon ID even if you have already signed in to NX Studio with the same ID. The sign-in credentials for the website and NX Studio are maintained separately.
- If you plan to use NX Studio offline, be sure to sign in while you have an internet connection. You can use NX Studio offline for 30 days after signing in. You can use NX Studio for another 30 days by re-launching it online.
- To discontinue your use of Nikon ID, you must terminate the use of NX Studio. Select [Help] > [NX Studio Settings] to display the NX Studio settings page and follow the steps to complete the termination process.
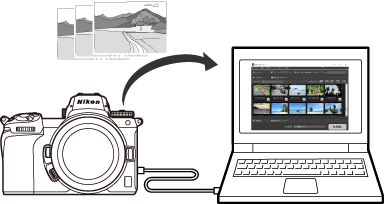
Step 2: Download Pictures to Your Computer
You can readily download photos and videos from your camera using Nikon Transfer 2 software installed with NX Studio.
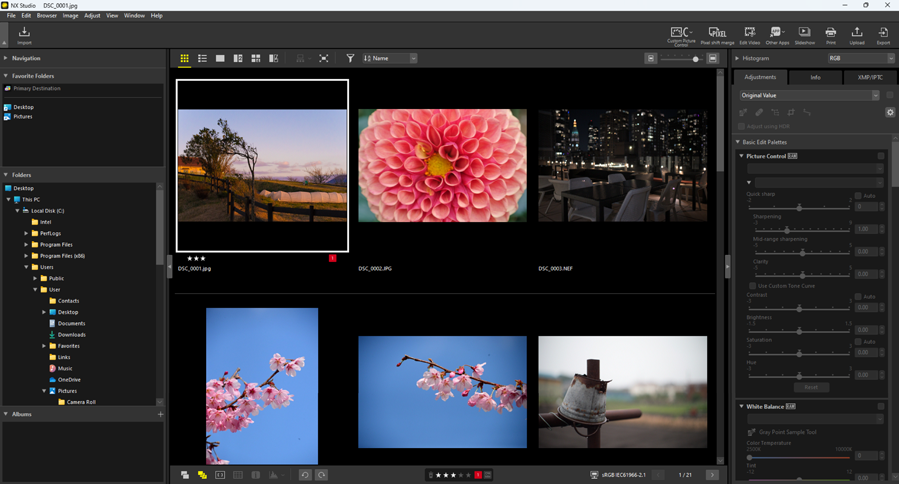
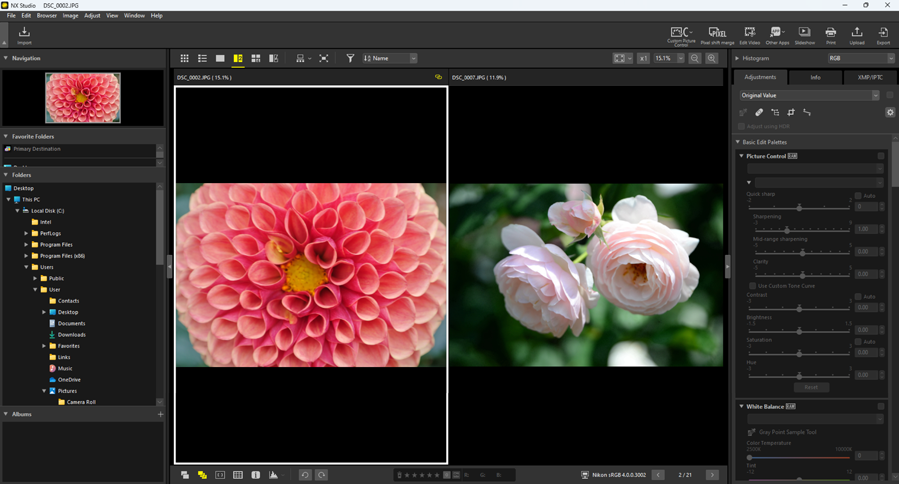
Step 3: View Pictures
NX Studio offers a variety of options for viewing the downloaded pictures and quickly finding the one you’re looking for (0 The View Area, Filter Options).
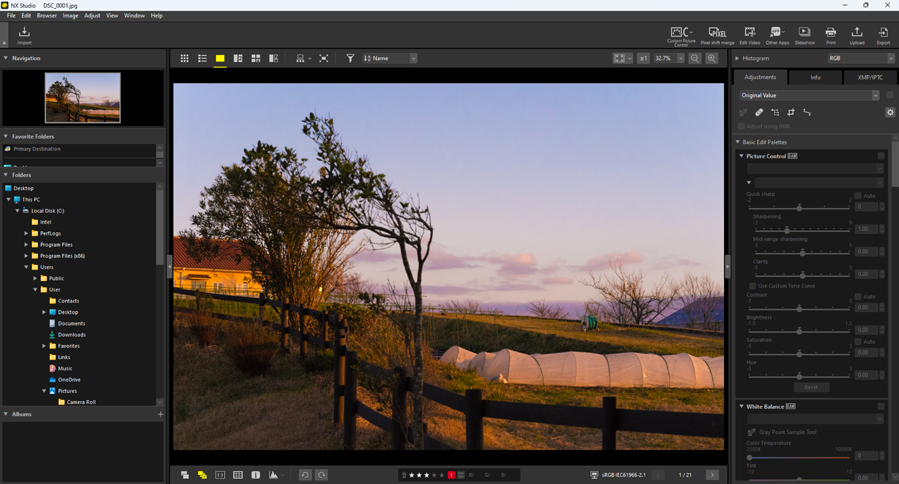
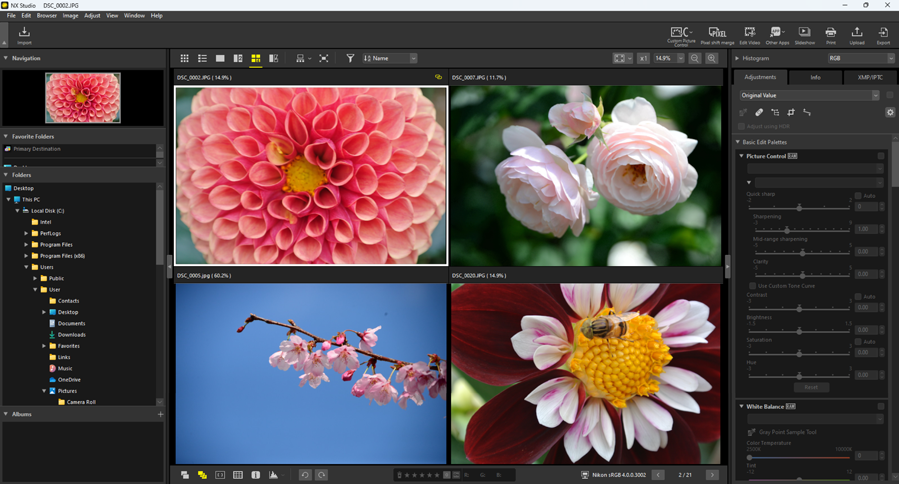
Step 4: Enhance Pictures
Adjust brightness, hue, and other settings. NX Studio’s intuitive controls help you get the results you want (0 The Adjustments Tab).

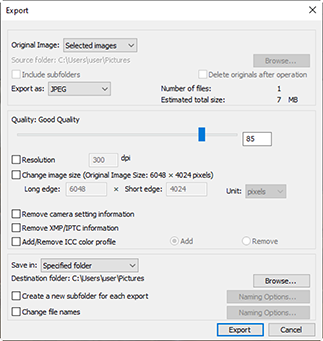
Step 5: Export Pictures (Save in Other Formats)
After enhancing pictures, you can save them as JPEG, HEIF, or TIFF files under new names. The pictures can then be used with other software.
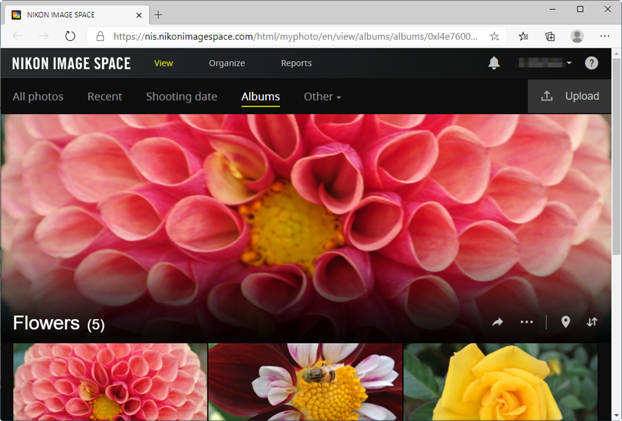
Step 6: Upload or Print Pictures
Pictures that have been saved in the appropriate formats can be uploaded directly to NIKON IMAGE SPACE (0 Web Services, NIKON IMAGE SPACE). You can also print pictures and share them with family and friends (0 Printing Pictures).
NX Studio also offers many other ways to enjoy your photos. For more information, see “What NX Studio Can Do for You” (0 What NX Studio Can Do for You).