Viewing Images on a TV
Images and movies captured with the camera can be viewed on a TV.
-
Turn off the camera and connect it to the TV.
- Connect a commercially available HDMI cable to the TV’s HDMI input jack.
- Check the shape and direction of the plugs and do not insert or remove the plugs at an angle.
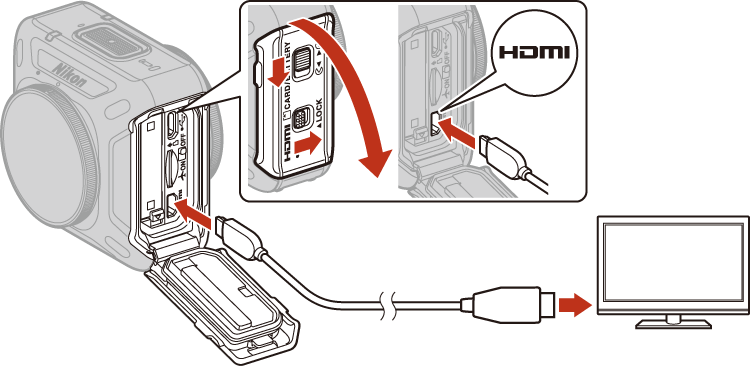
HDMI micro connector
(Type D)to HDMI jack
-
Set the TV’s input to external input.
- See the documentation provided with your TV for details.
-
Press and hold down the movie button (about 3 seconds) on the camera to turn it on.
- Images are displayed on the TV.
- TV remote controls that support HDMI-CEC are capable of selecting images, playing back/stopping movies, moving the point of view, etc. Point the remote control at the TV when operating the remote control.
Notes About Connecting Cables to the Camera
- Make sure that the camera battery is sufficiently charged. If the EH-62F AC Adapter (available separately) is used, this camera can be powered from an electrical outlet. Do not, under any circumstances, use an AC adapter other than the EH-62F. Failure to observe this precaution could result in overheating or damage to the camera.
- For information about the connection methods and subsequent operations, refer to the documentation included with the TV in addition to this document.
Notes About Playing Back on a TV
- The point of view cannot be moved smoothly on TV screens.
- Images displayed on TV screens are rough because parts of images saved in the camera are zoomed in.