- Android
- iOS
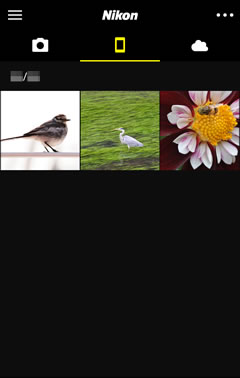
Taking Photos Remotely
To take photos remotely, tap Remote photography in the Camera tab.
Remote Photography
Remote photography can not be used to record movies. NEF/NRW (RAW) and TIFF formats are supported but the resulting photos will not be downloaded to the smart device.

Remote Photography
Remote photography uses Wi-Fi. If a Wi-Fi connection dialog appears when the remote photography controls are displayed, tap YES to connect to the camera via Wi-Fi. If you are unable to connect, select Connection Options in the Connect tab and check that Allow Wi-Fi access is enabled.
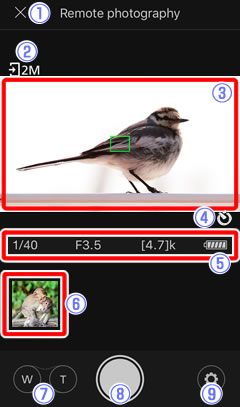
The Shooting Display
 Back button: Return to the Camera tab.
 Image size: Displayed if 2 megapixels is selected for Choose download size in camera settings.
 Live view display: The view through the camera lens is displayed when Live view is enabled in camera settings.
 Self-timer icon: Displayed when Self-timer is enabled in camera settings. Tap the shutter-release button to take a photo after a 2-second delay.
 Photo information: Shutter speed, aperture, and other shooting information.
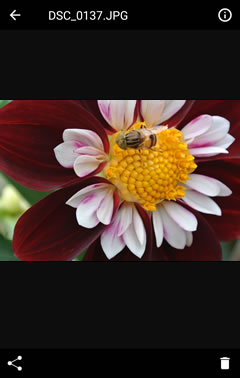
 Recent photos: Recent photos are displayed as thumbnail images. Tap to view full frame. Recent photos can also be deleted or shared.
 Zoom (supported models only): Zoom in or out.
 Shutter-release button: Tap to take a photo.
 Camera settings: View and adjust camera settings.
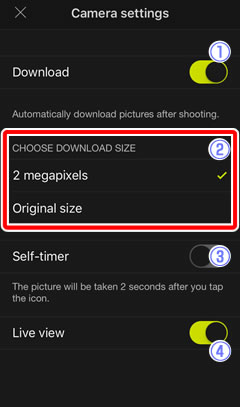
Camera Settings
- Download: Enable this option to download photos as they are taken. Photos taken with download disabled can be downloaded using Download selected pictures.
- Choose download size: Choose 2 megapixels to resize photos to 2 megapixels for download, or Original size to download photos at their original size.
- Self-timer: Enable this option to take photos with the self-timer.
- Live view: If this option is enabled, the view through the camera lens will be shown in the shooting display. Disabling this option prevents you framing photos on the smart device but reduces the drain on the smart device and camera batteries.
Remote Photography
When remote photography controls are displayed, select the camera SSID under Settings > Wi-Fi in iOS to initiate a Wi-Fi connection. If you are unable to connect, select Connection Options in the Connect tab and check that Allow Wi-Fi access is enabled.
The Shooting Display
- Back button: Return to the Camera tab.
- Image size: Displayed if 2 megapixels is selected for Choose download size in camera settings.
- Live view display: The view through the camera lens is displayed when Live view is enabled in camera settings.
- Self-timer icon: Displayed when Self-timer is enabled in camera settings. Tap the shutter-release button to take a photo after a 2-second delay.
- Photo information: Shutter speed, aperture, and other shooting information.
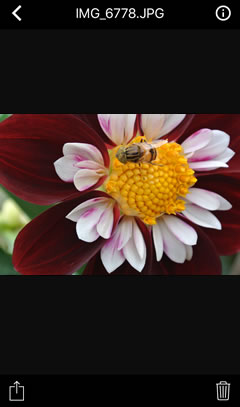
- Recent photos: Recent photos are displayed as thumbnail images. Tap to view full frame. Recent photos can also be deleted or shared.
- Zoom (supported models only): Zoom in or out.
- Shutter-release button: Tap to take a photo.
- Camera settings: View and adjust camera settings.
Camera Settings
- Download: Enable this option to download photos as they are taken. Photos taken with download disabled can be downloaded using Download selected pictures.
- CHOOSE DOWNLOAD SIZE: Choose 2 megapixels to resize photos to 2 megapixels for download, or Original size to download photos at their original size.
- Self-timer: Enable this option to take photos with the self-timer.
- Live view: If this option is enabled, the view through the camera lens will be shown in the shooting display. Disabling this option prevents you framing photos on the smart device but reduces the drain on the smart device and camera batteries.